Wednesday, November 30, 2011

My Creative Space

Things have been beyond busy getting Holiday orders out, and getting everything organized. I would be lying if I said I wasn’t feeling overwhelmed. Usually, during this time of year I’d be in exams in school and so I would have quite a bit of free time. This year, I’m working – a lot – and so time is not so readily available.

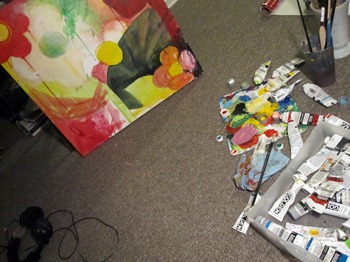
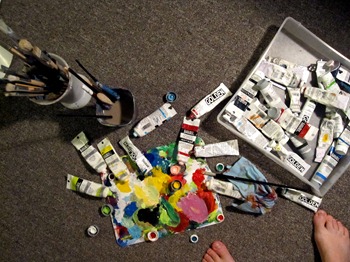
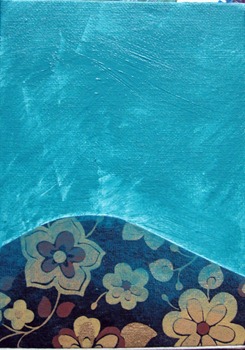
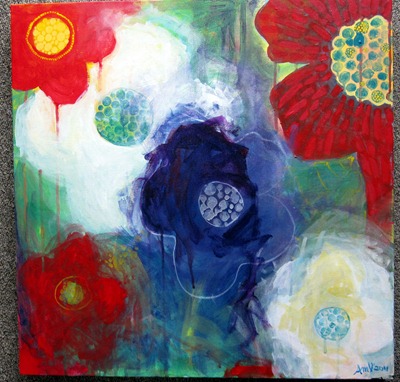
I need some sort of ‘mental' escape’, so I took a moment this week to paint – just to paint. There was no plan, it won’t be going up for sale. This was solely for me. I grabbed my acrylic paints, the largest canvas I had on hand. I put on my headphones, and cranked the music. I listened to ‘Down With Webster’, on repeat for the entire process of this painting. It just felt like the right music, and nothing else interested me.

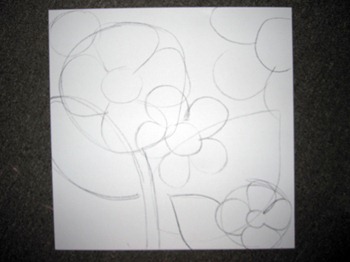
I didn’t take too many progress shots. I started, but then as I really got into it, I just got lost in it.

I also didn’t set it up on the painting easel – I planted my supplies and myself onto the floor and painted there.

Before I knew it, 5 hours had past and this was my finished piece. I felt tired and needed my bed. But I also felt creatively refreshed. It was good for me. Now it’s hanging in my bedroom adding a much needed splash of colour – so it turns out it was good for my bedroom too.
Here’s some Down With Webster for you all :)

You can see more creative spaces, here.

366Pages Preview

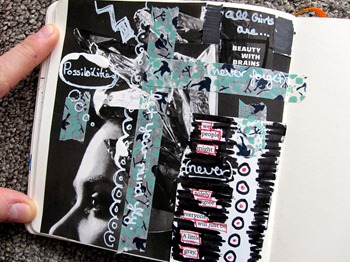
My good friend Amanda from Ulixis is putting together a year long sketchbook workshop, where she provides prompts and inspiration for everyday of an entire year. Being a leap year, there will be 366 prompts.

As a special feature, and to give a taste of the project before she releases it, she provided a ‘preview prompt’. You can find it here.

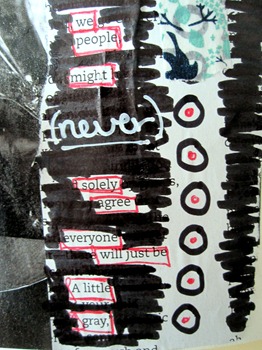
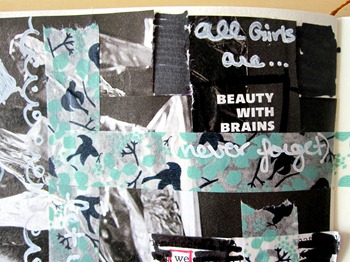
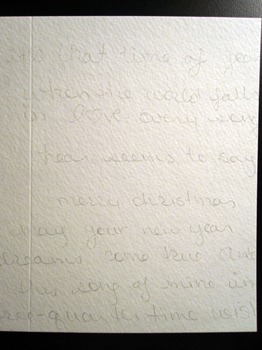
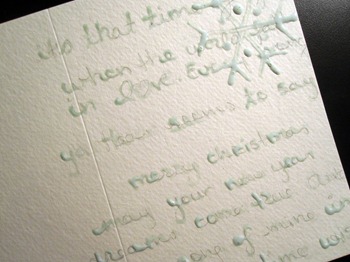
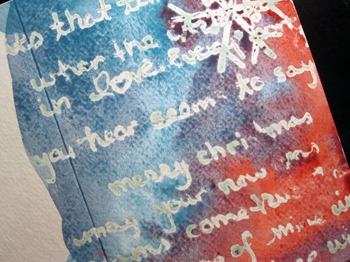
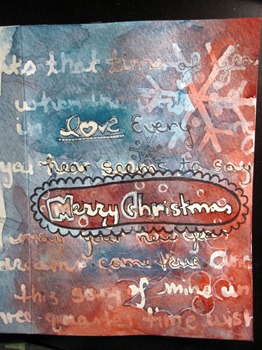
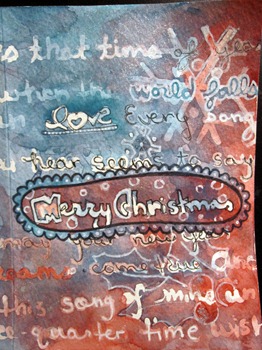
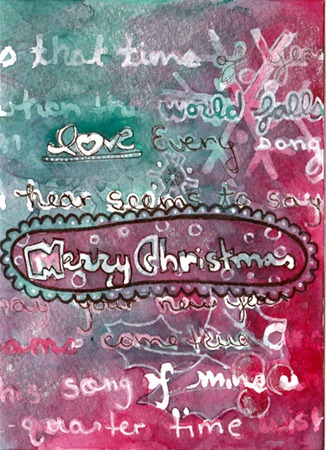
Here is my interpretation / submission:

Some detail shots. I took the chunk of text from the reverse side.

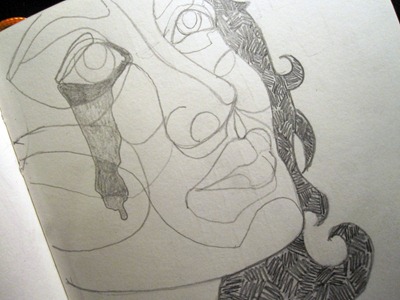
A Peek Inside My Sketchbook

Tuesday, November 29, 2011

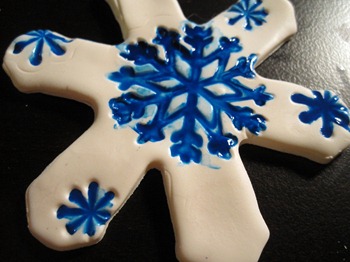
Day 3: Snowflake Stamp Ornaments

title

For this DIY, we’re making ornaments out of clay. They don’t have to be snowflakes – they can really be any shape that you want to cut out. Once again, I did this in the evening, so the lighting isn’t amazing.

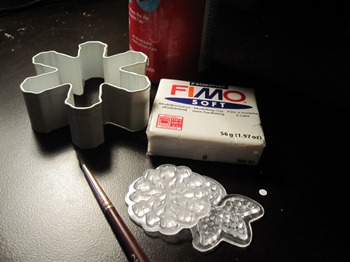
Here’s what you need:

  • Clay of a sort – I used Fimo, but you can use any sort of clay.
  • Cookie cutter to make a shape
  • Stamps – to stamp your design in
  • Paint brush to smooth imperfections, fetching stray hairs ect.
    • Optional: glazing / clear coat, acrylic paints.

Instructions to create these lovelies:

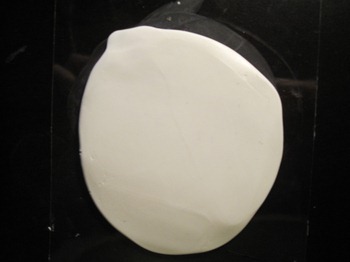
  1. Roll out clay until fairly thin.IMG_1871
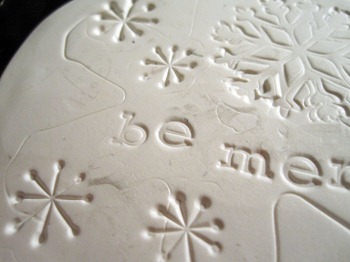
  2. Stamp your designs into the clay, being careful to get the imprints deep enough
  3. Use the cookie cutter to cut out the shape, peel the clay from around the clay and cookie cutter (I keep it in the cookie cutter for stability reasons until I’m done).
  4. Poke a hole through the top with the end of the paint brush for a ribbon later
  5. Place on the baking sheet. If using Fimo, or another baking-required clay, follow directions to bake. If air-dry clay, let dry completely – this may take a day or three.

The rest of this tutorial is optional. You can stop here if you`d like to keep your ornament simply white. For those who are continuing, you will need acrylic paint. I`m using a dark blue.

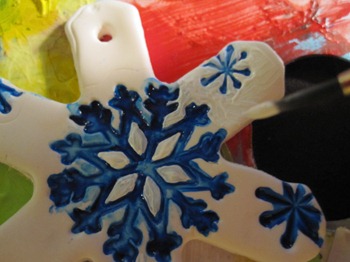
6. Use a small paint blue to paint inside the stamps. This might be difficult depending on your design. Wait until dry.

7. Use white paint to correct the areas where the blue might have taken control of itself:

IMG_1907

8. Finish with a clear, protective coat and string a ribbon through. Hang and enjoy :)

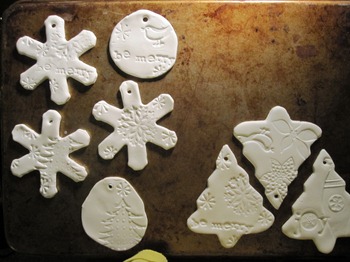
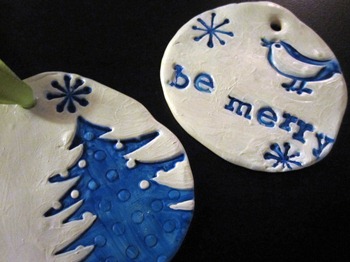
Here are some of the others that I created. If you don’t have a cookie cutter at all, you can always form a circle shape with your hands. The unevenness seems to add to the artsy-ness of the piece.

Monday, November 28, 2011

Monday Art Class: Easy Magazine Image Transfers

Today, we’re going to learn about easy acrylic image transfers. Perfect for your mixed media projects.

When you apply images using this technique, the resultant image is transparent and reversed. So, unless you want you text backwards, you typically will only use this technique for images. Now you may ask: why not just collage the image on? Well, this gives the image a different look, and if you have images / layers underneath – then they will peak through. You’ll just have to try it out for yourself!

This technique also works for laser print images / photocopies. You want to be careful with inkjet images as the water / gel medium will make them blur / run sometimes.

Materials:

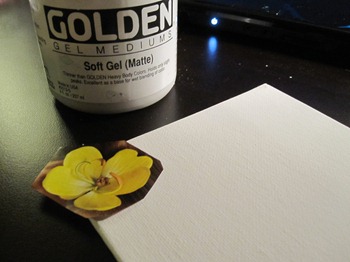
IMG_1926

  • Acrylic Gel Medium
  • Canvas (or support of your choice)
  • Brush – to apply the acrylic gel medium
  • Magazine image

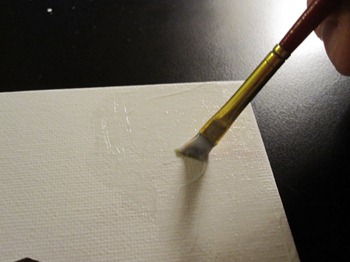
1. Apply the gel medium in a very even layer onto your canvas support. Do not apply it too thick, but not so thin that the image does not adhere.

IMG_1927

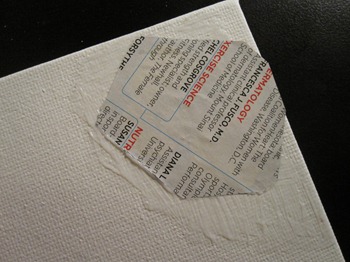
2. Apply your image. Make sure that all portions of the image are making contact with the gel medium. Anything that does not make contact with it will be removed later: you can use this to your advantage if you’re going for a ‘grunge’ appearance. Now let dry very thoroughly. I recommend leaving it over night.

IMG_1929

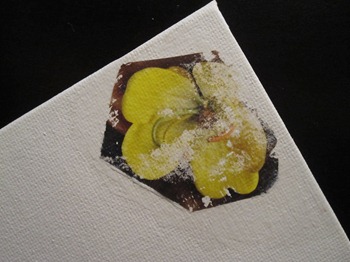
3. Now it’s time to remove the paper: apply a damp cloth to it until the image is soaked through. Do not drench the image: the water softens the gel medium too and you don’t want that to loosen.

4. Rub gently with your fingers to remove the paper. Be careful not to rub so hard that the actual image gets removed.

IMG_1933

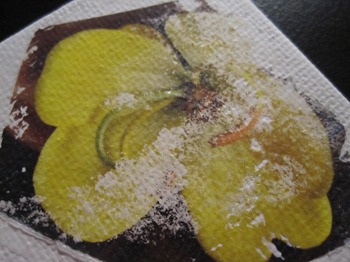
5. Now that your image is visible, you can continue with your artwork!

IMG_1935

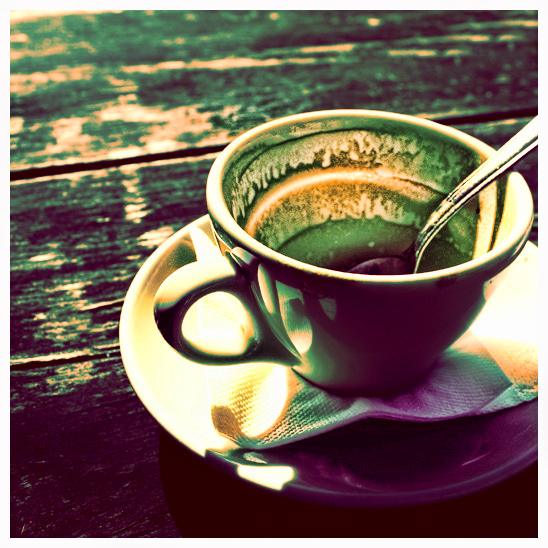
Colour Inspiration: Retro Coffee Time

Image by: http://ironicna.deviantart.com/

Sunday, November 27, 2011

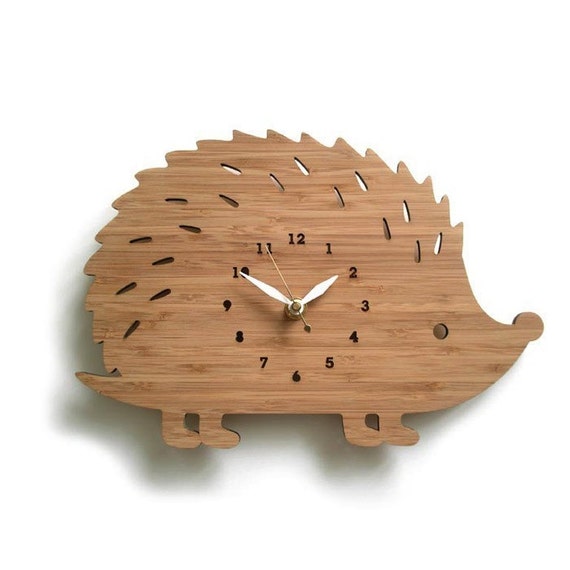
Sunday Shopping: Hedgehog Clock

This Hedgehog Bamboo Clock, by decoylab, is so friggin’ cute! I think every child’s – and adult’s – room should have one! How can it not make you smile every time you look at it?

Saturday, November 26, 2011

Weekend Getaways

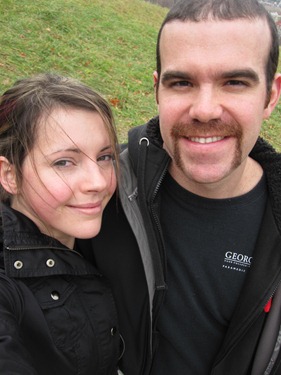
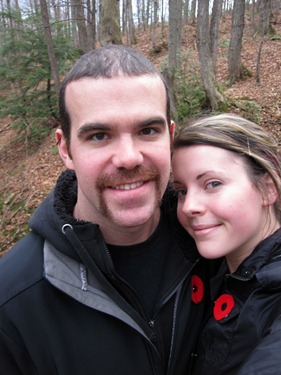
A couple weekends ago, James and I went to Collingwood for a weekend escape. Work has been crazy this summer for both of us, and probably won’t slow down until after Christmas. Our getaway was also in celebration of 5 years together (back in September). We went for the weekend, turned off our phones, and just enjoyed each other’s company. Yes, he’s grown a moustache for Movemberyou can donate to his team, here

IMG_1813

We both work shift work – I’m a medical radiation technologist (aka: x-ray technologist), and he is a paramedic. So sometimes, I’m going to work when he’s going to bed. Not so romantic, and not a lot of time together sometimes. View from the top of the blue mountains:

I can’t say I’m sorry that we’ve been so busy – it’s sort of a Catch 22: I do love that we both have employment in similar fields, since we can then discuss with each other difficult and interesting cases. He’s also sometimes stationed at my hospital, so there are many patients that he bring in with the ambulance, and that I later x-ray.

We went to the Blue Mountain Village. This is a year round resort – but it’s best known as a ski resort. November, being an off season: no summer activities and no winter activities yet – proved to be the perfect time to go with lots of discounts.

We never had to leave the village: it has shops, activities, spa, restaurants and an excellent night life. It reminds me of a Christmas village, it’s just too cute!

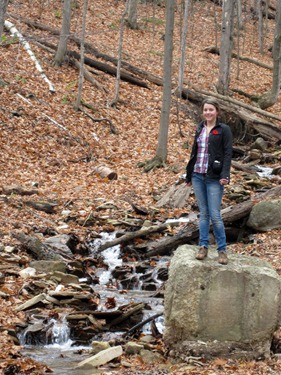
We ended up hiking the ‘blue mountains’ as well – what a work out! We ate so much delicious food that weekend, and I think the hike alone worked it all off.

IMG_1797

We also picked up our snowboard passes while we were there – so excited for this season, living so close to the hill this year!…now we just have to wait for the snow, and it will be bliss. Can’t wait to ride on those chairs again, soon:

Friday, November 25, 2011

Day 2: Painted Glass Ornaments

title

This is another simple, quick project. Although I am not making any of these this year (sadly, I must limit what I choose to make based on time-restrictions and the ever-looming Christmas budget…not to mention, craft supplies are scarce where I live LOL). But, since they are such a great idea, I still wanted to share with everyone. If your children are old enough to be careful with paint (as I'm not sure if it will wash out of clothes), then they would be able to make their own ornaments

What you need: clear glass ornaments, paint designed for glass - preferably translucent, brush – or acrylic works as well (bottled craft-acrylic, not tubed, especially if you’re pouring it inside of the ornament and swishing it around.

Instructions: these are simple: paint the glass glass (either on the inside, or the outside), let dry, hang and enjoy!

Here are some tutorials that I have found on the internet for these easy ornaments:

Buggie and Jellybean: Paint Ornament Tutorial

Kaboose: Festive Polka Dot Ornaments

and the cutest for last: Painted Snowmen and Penguin Ornaments

Tuesday, November 22, 2011

Day 1: Graffiti Holiday Cards

title


Welcome to the 12 Days of DIY Holidays. During this mini-series, I’ll be sharing some of my own DIY projects - as well as featuring others that I have found on the internet and in blogs. I hope that this series inspires everyone to be a little creative this holiday season.


First up is graffiti holiday cards. The wonderful things about these cards is that you can just have fun creating them – there is no being precise or perfect, you can just go with the flow. The one thing that you need to understand about this project: there are no limits or guidelines. How I create my card below isn’t how you need to create yours.


What you’ll need:


  • Cardstock folded into a card or ‘pre-made’ cards on cardstock or watercolour paper.


  • Various painting, drawing and craft materials


    • What I’m using: Masking fluid, watercolour paints, watercolour iridescent medium, black markers, white paint marker


  • Christmas song lyrics

Instructions:
1. First you need to pick a holiday song. I’m starting with “The Christmas Waltz.” It has been stuck in my head for about a week now, so it’ll be good to get it out of there! My specific lyrics that I’m working with:


It's that time of year when the world falls in love. Every song you hear seems to say: Merry Christmas. May your New Year dreams come true.


2. Next place those lyrics on your card in pencil in a way that you like them.


3. I then use masking paint to ‘reserve’ the areas where the words are. I’m not too careful about it, I just apply it quickly and a little bit messy. Let dry.


4. I apply my first background layer. Let dry.


5. I add some messy paint details. Let dry.


6. Remove masking fluid, and begin to accent the letters with the black marker.


7. Some more details and shimmer.


And then we have our card!


xmas1


You’ll have to excuse the picture quality. I did this project at night, so my camera didn’t take the colours well. The colours are truest to the final image, the scan.

Monday, November 21, 2011

Art Class: Petroleum Resist Technique


This week we’re going to learn a really fun, and easy acrylic resist technique using – what else – petroleum jelly!

Materials needed:

  • Acrylic paint
  • Petroleum Jelly
  • Cleansing clothes

Here’s the general idea of the application: you will apply petroleum jelly with your fingers (since it’s hard to clean from brushes) to the areas that you do not want paint applied to. Next, you will paint all over everything. Once dry – and it’s very important that it’s completely dry you can wipe away the jelly using some sort of cleansing cloth: baby wipes, face wipes, ect. And – tadda! That’s it! Simple! Right?

Now for the demo :) I am starting with an ‘already-in-progress’ piece.

I’ll start with some progress pictures, and then show you the resist demo. There are collage and mixed media elements to this painting.

As you can see, I’ve already applied two layers of resist. We are going to now add the third and final layer.

  1. Apply the petroleum jelly to the areas that you would like preserved. Thicker the better, you don’t want any paint to get through.
  2. Apply paint to your piece. Wait until dry
  3. Wipe off and enjoy!

golden

Golden Aspiration – Mixed Media on 5x7” canvas board.

As you can see, you can layer the resists to create neat effects.